QR asset tagging: a practical guide to labelling everything you own
Which assets to tag, what to print on the label, which material to use, where to stick it and how to roll out QR tagging across sites.
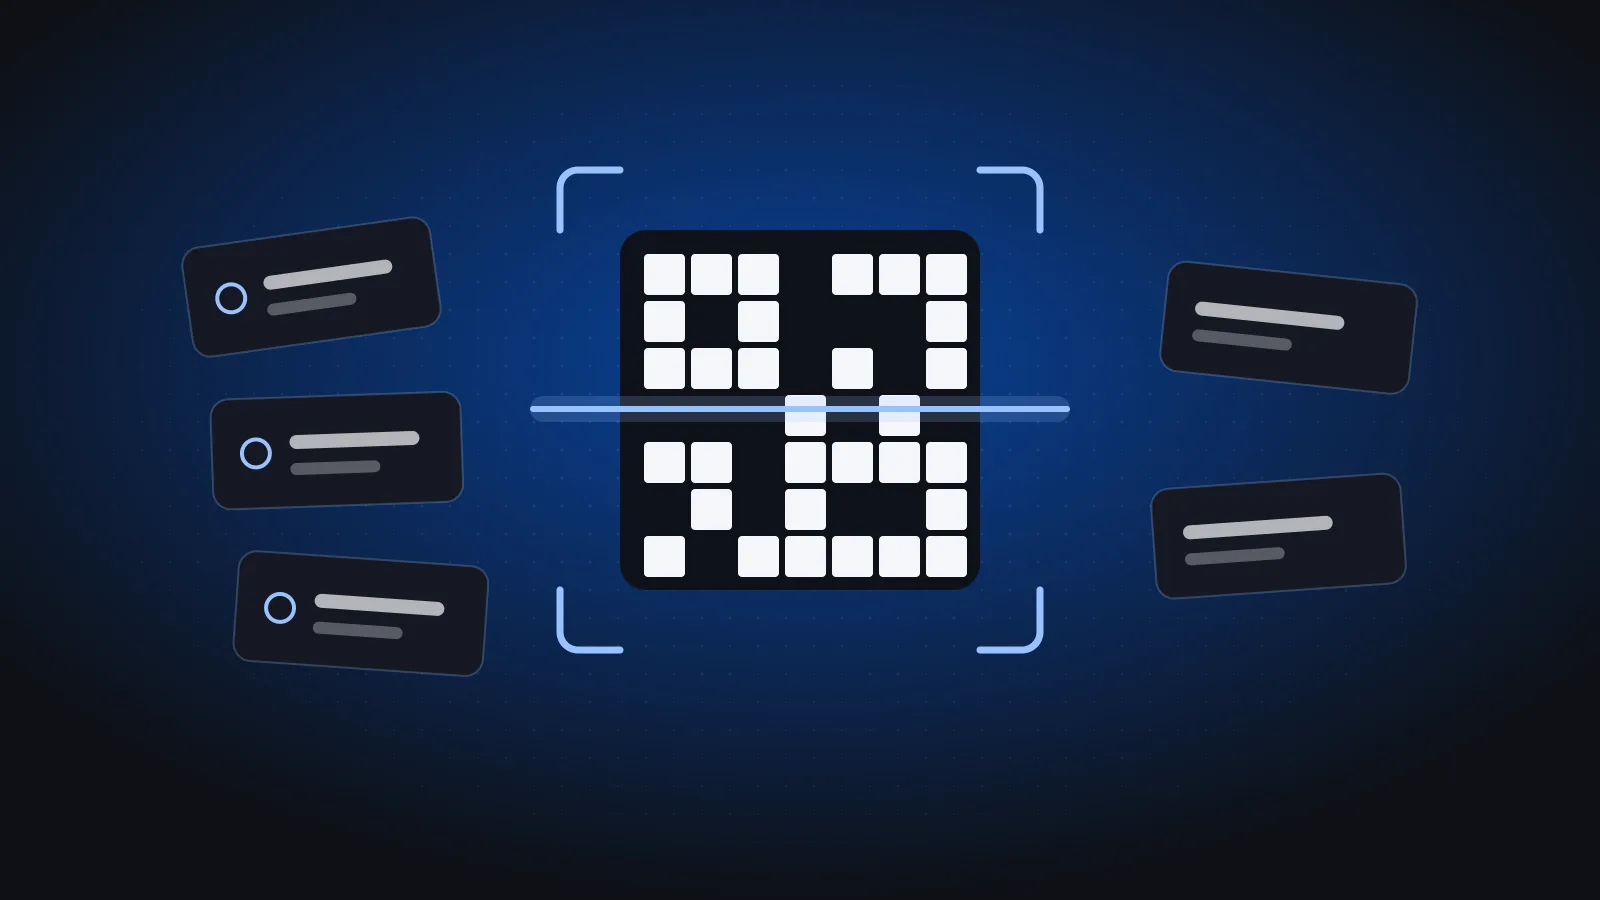
You cannot manage what you cannot identify. Before you track, lend or audit anything, every item needs a label that a phone can read in a second and that links to one record in your system.
This guide covers the whole job: choosing between QR, barcode and RFID, deciding what to tag, designing the label and the asset code, picking a material that survives where the asset lives, and rolling it out across one or many sites without stopping work.
Why QR codes are the default for asset tagging
QR codes are the practical default because any smartphone camera can read them, they tolerate some damage, and they can hold a link straight to the item's record. You do not need dedicated scanners, so anyone on the team can check an item.
QR codes include error correction, so a slightly scratched or faded code can often still be read. They also scan from any angle.
QR vs barcode vs RFID
Each technology has a place. The table below summarises the generally accepted trade-offs.
| QR code | 1D barcode | RFID tag | |
|---|---|---|---|
| Reader | Any smartphone camera | Barcode scanner or phone app | Dedicated RFID reader |
| Line of sight needed | Yes | Yes | No |
| Reads many items at once | No, one at a time | No, one at a time | Yes |
| Tolerance to damage | Good (built-in error correction) | Lower | Tag can fail without visible damage |
| Label cost | Low | Low | Higher |
| Best for | Most office, IT, field and furniture assets | Narrow items, existing barcode setups | High-volume, fast-moving inventory |
For most small and mid-sized companies, QR gives the best balance of cost and convenience. RFID makes sense when you must read hundreds of items without handling each one.
Which assets to tag (and which to skip)
Tag items that are valuable, portable or shared; track cheap consumables as stock instead. The goal is to label things you would actually look for, lend or count.
Good candidates:
- laptops, tablets, phones, monitors and docking stations,
- vehicles, generators, compressors and site equipment,
- power tools, measuring instruments and cameras that move between teams,
- furniture and fit-out in offices you refurbish, rent out or relocate often,
- anything covered by a warranty or a maintenance schedule.
Usually not worth tagging:
- pens, cables, toner and other consumables,
- parts that are built into a larger asset (tag the machine, not each component).
If you are unsure, ask two questions: Would we notice if it disappeared? and Would we ever need to know who has it? If the answer to either is yes, tag it.
Fixed assets vs tracked equipment
Your accountants may keep a fixed asset register for items above a capitalisation threshold so they can be depreciated. Operations often needs to track more than that, such as a phone below the threshold that still has to be handed back when someone leaves. It is fine to tag both; just make sure each item has a category so finance can filter what it needs.
What to print on the label
Print only what does not change: the QR code, a short asset code and your company name. Everything else belongs in the system, where it stays current.
- The QR code. It links to the full record.
- A short, human-readable asset code, such as
IT-LAP-0042, for when the camera will not focus or someone needs to read it over the phone. - Your company name or logo, so a lost item can find its way back.
Cost, supplier, warranty, holder and location should live in the record. A label that prints the holder's name is out of date the first time the item is lent.
A simple naming scheme for asset codes
Pick a pattern once and never reuse a code, even after an item is disposed of. A common structure is:
CATEGORY-TYPE-NUMBER
| Example code | Meaning |
|---|---|
IT-LAP-0042 |
IT, laptop, number 42 |
IT-MON-0310 |
IT, monitor, number 310 |
VEH-PKP-0007 |
Vehicle, pickup, number 7 |
TL-DRL-0115 |
Tools, drill, number 115 |
FUR-DSK-0520 |
Furniture, desk, number 520 |
Tips:
- Keep location out of the code. Items move; a code that says
RYD-becomes wrong when the item goes to Jeddah. Track location in the record. - Pad the numbers (
0042, not42) so codes sort correctly. - Use letters and digits only. Avoid characters that look alike, such as
Oand0, in the prefixes.
Choosing the label material
Match the label to the environment the asset lives in, not the one it was bought in. A paper label is fine on a desk for a few months and useless on a forklift.
| Where the asset lives | Recommended label | Why |
|---|---|---|
| Offices, IT equipment | Laminated polyester | Durable, cheap, resists cleaning and handling |
| Vehicles, outdoor equipment | UV-resistant, weatherproof polyester or vinyl | Resists sun fading and rain |
| Machinery, hot or oily surfaces | Metal or anodised aluminium tags, riveted or with industrial adhesive | Survives heat, oil and abrasion |
| Furniture | Polyester on a hidden but reachable surface | Stays out of sight and out of the way |
| Curved or textured surfaces | Flexible vinyl or a tie-on tag | Adhesive labels may peel on uneven surfaces |
| Items wiped or disinfected often | Laminated labels rated for chemical resistance | Prevents ink from wearing off |
Two practical checks before you order in bulk:
- Test a few labels on real assets for a couple of weeks, especially outdoors.
- Check the size scans easily with the phones your team actually uses, from a normal distance.
Where to stick the label
Choose one placement rule per asset type and apply it everywhere. Auditors scan much faster when they know exactly where to look.
Example placement rules:
- Laptops: underside, near the hinge, away from vents and rubber feet.
- Monitors: back panel, top right corner.
- Desks: inside of the right leg, at knee height.
- Chairs: under the seat, front edge.
- Vehicles: inside the driver's door frame.
- Machinery: a flat, clean surface near the nameplate, away from moving parts and heat sources.
Clean the surface before applying adhesive labels, and avoid spots that are rubbed every day, such as palm rests or handles.
How to roll out QR tagging across your sites
Register first, print by location, then tag and confirm each item with a scan. Doing it in this order means every label is linked to a real record from the first day.
- Build the register. Export what you have from spreadsheets or purchase records and add each item with category, cost, supplier and warranty.
- Clean up the list. Remove duplicates and items already disposed of. A messy register produces messy labels.
- Pilot one room. Tag a single office or storeroom, time it, and fix your placement rules before scaling.
- Print in bulk by location, so each batch of labels goes to one room or site.
- Tag and confirm. Stick each label and scan it once to confirm it opens the right record.
- Assign holders as you go. Record who has each item now and where it is.
- Handle the leftovers. Items you find without a record get registered on the spot; records with no item found become your first list to investigate.
Rollout checklist
- Asset categories agreed with finance and operations
- Naming scheme for asset codes written down
- Label material chosen and tested per environment
- Placement rule per asset type shared with the team
- Register cleaned and imported
- Labels printed and grouped by location
- Every label scanned once after it is applied
- Holders and locations recorded
- Process for tagging new purchases on arrival
That last item matters most. If new purchases are not tagged when they arrive, the register starts drifting the week after rollout.
How UsoolSaver helps with QR tagging
UsoolSaver is Phoonix's asset management app for equipment, vehicles, devices and furniture. You register each item with its category, cost, supplier and warranty, then print QR labels one at a time or in bulk. One scan opens the item's full record, including who holds it and where it is.
Each company gets its own workspace with its own items, people and locations. Once everything is tagged, you can audit a site with a phone and lend items with return dates. If your finance team also needs depreciation and disposals, the Fixed assets module in Azha ERP covers the accounting side.
Frequently asked questions
Can I print QR asset labels on a normal office printer?
Yes, for indoor items that are not handled much, printing on good-quality label sheets works for a start. For anything outdoors, hot, oily or handled every day, use polyester, vinyl or metal labels from a label supplier. Test a few before printing your whole register.
Should the QR code contain all the asset details?
No. Keep the QR code pointing to the item's record and keep the details in the system. Details printed on a label cannot be updated, while a record can show the current holder, location and maintenance history.
What size should an asset QR label be?
There is no single right size; it depends on the item and the scanning distance. Choose the smallest size that your team's phones scan instantly at a normal handling distance, and keep the same size per asset type so labels look consistent.
What happens when a label is damaged or lost?
Look the item up by its asset code or details, print a replacement label for the same record and stick it in the standard place. Do not create a new record, or the item's history will be split in two.
Tagging is the foundation for everything else in asset management. If you are also reviewing your finance system, read our guide to choosing a cloud ERP in Saudi Arabia and Egypt. When you are ready, book a 30-minute UsoolSaver demo and bring your item list.